
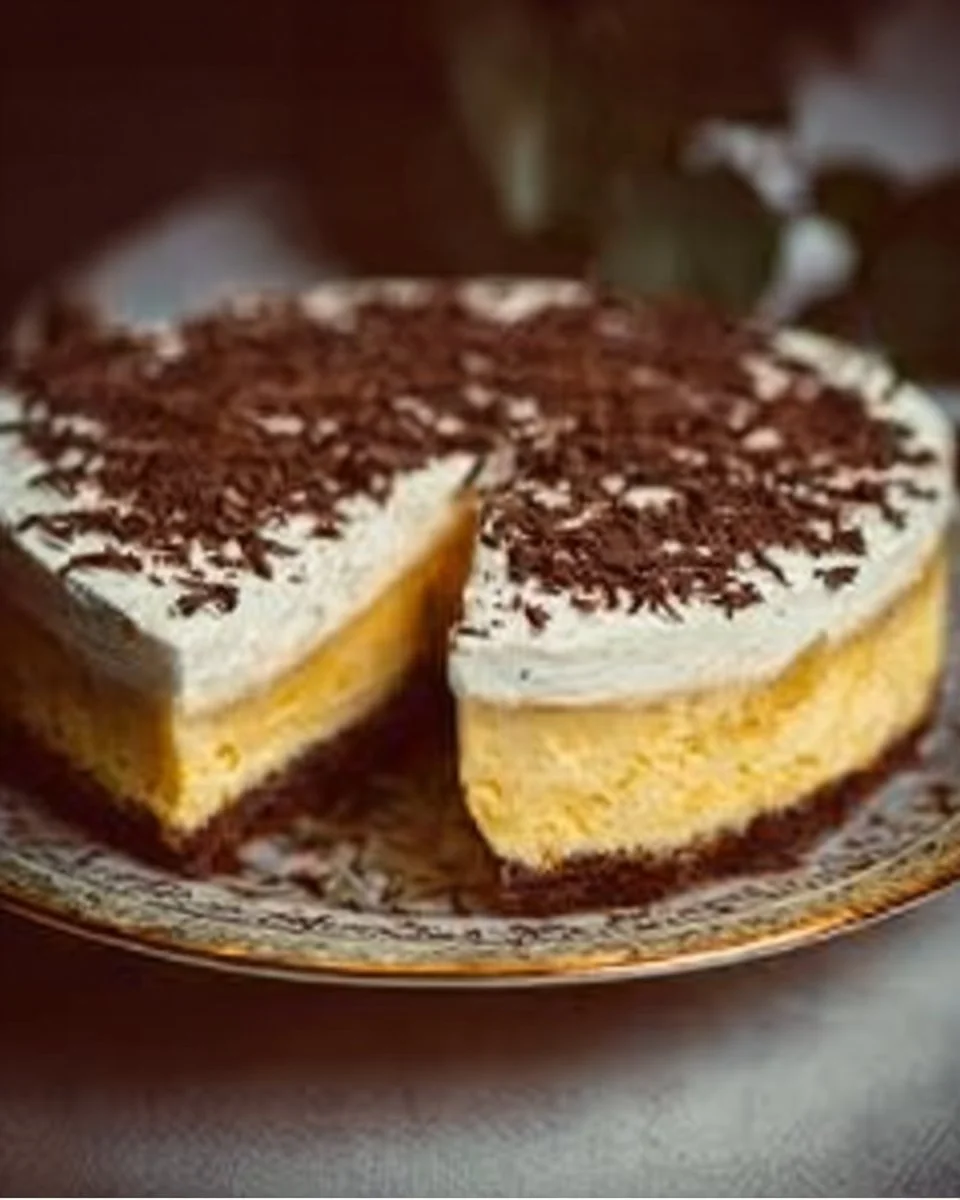
Heavenly Apple Pie Bars: A Fall Favorite That Will Warm Your Heart
There’s a certain magic that happens in my kitchen as the days begin to shorten and the air grows crisp with the promise of fall. Every year, I eagerly await the moment when I can dive into a sea of apples, transforming them into something truly special. And let me tell you, nothing captures that warmth quite like my beloved Apple Pie Bars. These delightful treats are a fragrant blend of sweet, tender apples enveloped in a buttery crust—perfect for a cozy afternoon with loved ones.
What sets these Apple Pie Bars apart from any regular dessert is how they manage to wrap you in memories of home and family. As a child, my grandmother would weave stories of autumn evenings spent picking apples and baking dozens of pies, but I always leaned toward these bars. Unlike traditional pies, Apple Pie Bars bring a touch of modern flair while maintaining that classic taste we all adore.
In this recipe, I promise you’ll learn how to capture the essence of that comforting fragrance in your own home. Let’s create some memories together!
What Are Apple Pie Bars?
Apple Pie Bars, as you might imagine, are the ultimate mashup of convenience and nostalgia. The origin of this delightful dessert? Think of it as the simplified version of an apple pie—a sliceable treat that captures everything we love about the classic dessert without all the fuss.
These bars boast a buttery, flaky crust, vibrant apple filling, and a delightful custard-like layer that binds everything together. The taste? Pure bliss! Each bite harmonizes the sweet, caramelized apples with warm spices like cinnamon and nutmeg, while the texture oscillates between pillowy and crunchy.
Apple Pie Bars are the perfect go-to dessert for potlucks, family gatherings, or a casual evening at home. Whip them up when you want to impress guests or simply crave a slice of comfort. They’re delightful enough for a special occasion and easy enough for a weekday treat—trust me, they’re as versatile as they are delicious.
Why You’ll Love This Recipe
Here are five reasons why this Apple Pie Bars recipe will have you running to the kitchen:
Exceptional Flavor: With the sweet apples, creamy vanilla pudding, and buttery crust, these bars are simply irresistible. Forget store-bought snacks! You won’t find this depth of flavor anywhere else.
Cost-Effectiveness: Using simple pantry staples, this recipe won’t break the bank. Instead of splurging on overpriced desserts, you can create a homemade treat that’s both delicious and budget-friendly.
Customization Galore: Feel free to personalize these bars with your favorite spices, nuts, or even a bit of caramel sauce. Want a little crunch? Add some chopped pecans or walnuts to the apple mixture!
Time-Saving: Unlike some traditional baking recipes that take ages, these bars can be in the oven within just 30 minutes. Plus, they bake up in 30-40 minutes—with minimal hands-on time required.
Beginner-Friendly: You don’t have to be a professional baker to whip these up. With straightforward steps and handy tips, even novices will feel like pros in no time.
Ingredients
Here’s what you’ll need to create these unforgettable Apple Pie Bars:
- 1 pie crust (recommended: a pre-made crust for ease; if you’re feeling ambitious, try making your own!)
- 4 large apples, grated (I love using Granny Smith for their tartness)
- 1 cup sugar
- ½ cup water
- 2 eggs, room temperature
- 2 packets vanilla pudding powder (instant works best)
- 50 g butter, melted (seek out unsalted butter for better flavor)
- Juice of 1 lemon (freshly squeezed)
- 1 cup whipped cream (store-bought or homemade)
- Chocolate shavings (for garnish; optional but oh-so-fun!)
Ingredient Notes
- Apples: Don’t shy away from mixing varieties for a complex flavor profile; try pairing Granny Smith with Honeycrisp for sweetness.
- Pudding Powder: While vanilla is classic, feel free to experiment with butterscotch or caramel flavors!
- Baking Dish: A 9×13-inch baking dish works perfectly for this recipe.
Step-by-Step Instructions
Preheat the Oven: Preheat your oven to 350°F (175°C). (This ensures your bars bake evenly!)
Prepare the Pie Crust: Roll out or unroll your pie crust into the bottom of a greased baking dish, gently pressing it into the edges.
Cook the Apples: In a medium pot, combine the grated apples, sugar, and water. Cook over medium heat for about 10 minutes, stirring occasionally, until the apples are tender yet still hold their shape.
Whisk the Egg Mixture: In a separate bowl, whisk together the eggs, vanilla pudding powder, lemon juice, and melted butter. You want everything to be well combined, so give this a good whisk for about a minute.
Combine Layers: Once the apple mixture cools slightly, pour it evenly over the prepared crust. Then pour the egg mixture on top as a custardy layer; don’t worry, it will bake beautifully!
Bake: Bake in the preheated oven for 30-40 minutes, or until the center is set and the top is golden brown. You’ll know it’s ready when a toothpick inserted in the center comes out clean!
Cool and Serve: Allow the bars to cool slightly before cutting. Serve warm or chilled, topped with a dollop of whipped cream and a sprinkle of chocolate shavings for that extra touch of decadence.
Chef’s Tips:
- Keep an eye on the baking time, as ovens can vary; start checking around 25 minutes.
- If you notice the edges are browning too quickly, cover the dish with foil to prevent further browning.
Expert Tips & Tricks
Here are some insider secrets I’ve learned over my years in the kitchen:
- Storage: Store leftover Apple Pie Bars in an airtight container in the fridge; they’ll stay fresh for up to 4 days—if they last that long!
- Make Ahead: You can prepare the apple filling and custard mix up to 24 hours in advance; just assemble and bake when you’re ready.
- Troubleshooting: If your bars seem too runny, make sure you’ve let them cool completely—the filling will firm up as it cools down.
Serving Suggestions
These Apple Pie Bars are fabulous on their own, but why not elevate the experience? Consider pairing them with:
- A scoop of vanilla ice cream (the classic choice!)
- A drizzle of caramel sauce for added sweetness
- Chopped nuts sprinkled over the whipped cream for a bit of crunch
They’re perfect for holiday gatherings, family dinners, or even a cozy movie night at home. Your guests will be raving!
Variations & Substitutions
Feeling adventurous? Here are some fun variations to keep things fresh:
- Flavor Twists: Swap the apples for pears or a mix of berries for a delightful twist on the classic.
- Dietary Adjustments: To make it gluten-free, use a gluten-free pie crust and ensure your pudding is certified gluten-free.
- Seasonal Variations: In autumn, add in pumpkin spice; for spring, consider adding lemon zest for brightness.
Nutrition & Storage Info
- Prep Time: 20 minutes
- Cook Time: 30-40 minutes
- Total Time: 1 hour
- Yield: 12 servings
- Estimated Calories: Approximately 200 calories per bar
- Storage Instructions: Store in the fridge for up to 4 days or freeze for up to 3 months. To freeze, wrap tightly in plastic wrap and then in foil to prevent freezer burn.
FAQ Section
Can I use frozen apples for this recipe?
Yes! Just ensure they’re well-drained.Can I make these ahead of time?
Absolutely! Prepare the filling and crust in advance to save time.What’s the best way to cut the bars?
Use a sharp knife and clean it between cuts for neat edges.Can I use a different fruit?
Yes! Pears or peaches make lovely substitutions.Do I need to peel the apples?
It’s optional; leaving the skin on adds a rustic touch.Can I use fresh whipped cream instead of store-bought?
Yes! Homemade whipped cream elevates the dish even more!What should I do if the center is jiggly after baking?
It’s okay; it will firm up as it cools. Just let it set for at least 20 minutes.Can I use other flavors for pudding?
Yes! Feel free to experiment with butterscotch or chocolate pudding.Is it better to serve them warm or cold?
Both options are delicious! It depends on your preference.How do I store leftovers?
Keep them in an airtight container in the fridge for up to 4 days.
Conclusion
These Apple Pie Bars are a wonderful blend of nostalgia and innovation, perfect for any season. I encourage you to try them out and share the warmth they bring to your table. If you do make this decadent dessert, I’d love to hear your thoughts! Leave a comment below and let me know how they turned out. And if you’re looking for more delicious apple creations, don’t forget to check out my blog for my other seasonal favorites! Happy baking!

Apple Pie Bars
Ingredients
For the crust and filling
- 1 piece pie crust Recommended: a pre-made crust for ease.
- 4 large apples, grated Granny Smith preferred for tartness.
- 1 cup sugar
- 0.5 cup water
- 2 pieces eggs, room temperature
- 2 packets vanilla pudding powder Instant works best.
- 50 g butter, melted Unsalted butter for better flavor.
- 1 piece lemon, juice of Freshly squeezed.
- 1 cup whipped cream Store-bought or homemade.
- to taste chocolate shavings For garnish, optional.
Instructions
Preparation
- Preheat your oven to 350°F (175°C).
- Roll out or unroll your pie crust into the bottom of a greased 9x13-inch baking dish.
- In a medium pot, combine the grated apples, sugar, and water. Cook over medium heat for about 10 minutes, stirring occasionally.
- In a separate bowl, whisk together the eggs, vanilla pudding powder, lemon juice, and melted butter until well combined.
Baking
- Once the apple mixture cools slightly, pour it evenly over the prepared crust.
- Pour the egg mixture on top as a custardy layer.
- Bake in the preheated oven for 30-40 minutes, or until the center is set and the top is golden brown.
Serving
- Allow the bars to cool slightly before cutting. Serve warm or chilled, topped with whipped cream and chocolate shavings.